

Sewing & Crafting: Alphabet Keychain DIY
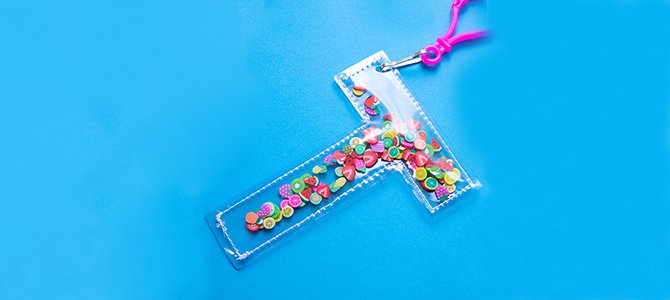
Learn how to make a custom vinyl keychain with your initial on it.
Inspiration for Every Maker: Explore Creative Projects by Category
Browse project ideas by what you love to make. Choose a category to see the latest videos and projects, with new inspiration.
Create a Customized Initial Keychain
Follow this quick and easy tutorial to make a vinyl alphabet keychain with your Brother sewing machine and your ScanNCut cutting and crafting machine.
Time to Complete:
1 hour
Skill Level:
Beginner
What You'll Need:
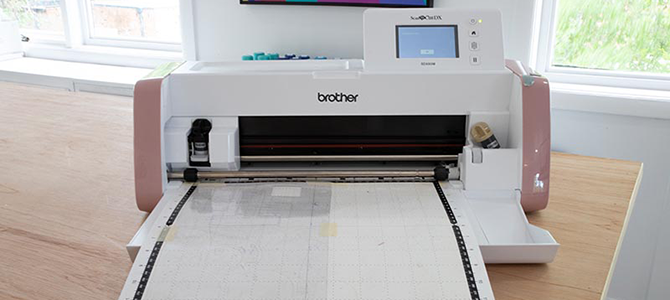
Brother ScanNCut SDX85
Brother Sewing Machine
Transparent vinyl (in the colours of your choice)
Needle for sewing with vinyl
Brother SA114 Non-Stick Foot
Keychain attachment
Confetti
Fabric Clips
Washi tape (optional)
Tips for Working with Vinyl
Vinyl is versatile for clothing, bags, accessories, home décor, and more. It’s easy to cut with scissors, a rotary cutter, or even easier with the Brother ScanNCut! Sewing clear vinyl can be trickier, so try these tips:
• Use the proper needle: A size 90/14 or 100/16 needle works well with thick, clear vinyl.
• Use a non-stick foot: It helps feed vinyl evenly without sticking. No non-stick foot? Add tape to a regular presser foot for a similar effect.
• Use clips instead of pins: Pins can leave holes, so use clips to hold pieces together while sewing.
• Use tissue or wax paper: Place a layer between the vinyl and presser foot to reduce friction and sticking.
• Trim seam allowances: Reduce bulk and keep seams from becoming too stiff.
• Test your stitches: Use a scrap of vinyl to check the needle, stitch length, and thread tension before starting.
Now, let's make a fun vinyl keychain!
JOIN THE BROTHER CARE PROGRAM
Love this project? Get more tutorials ideas, member-only deals, and free shipping on every order.
Step 1
On the machine, choose your desired letter and enlarge until the biggest part of the letter is 3". Add a small circle to the top of the corner. Duplicate. You should have two identical letters.
Step 2
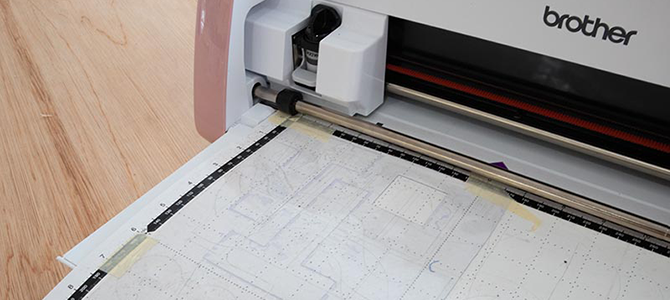
Adhere the vinyl onto the cutting mat. Use masking tape for extra reinforcement. Do a test cut prior to cutting the final letter. When you have a clean test cut, proceed with cutting out your letters.
Step 3
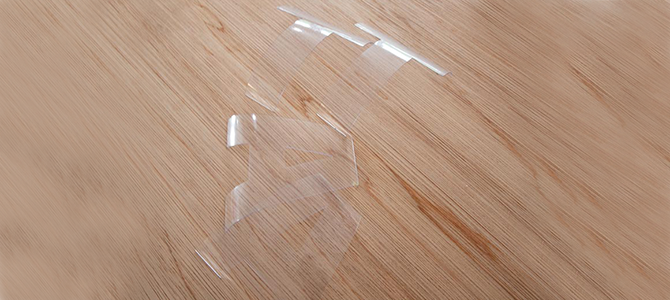
Remove both letters from the cutting mat.
Step 4
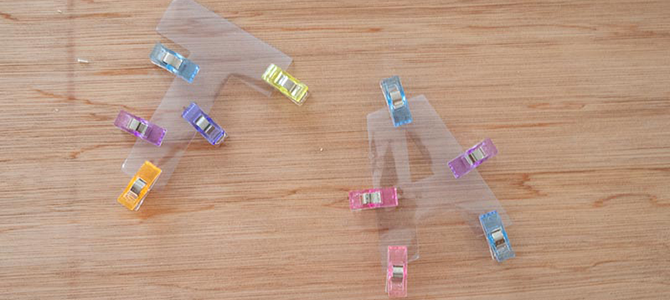
Using fabric clips, clip the edges of the letters together.
Step 5
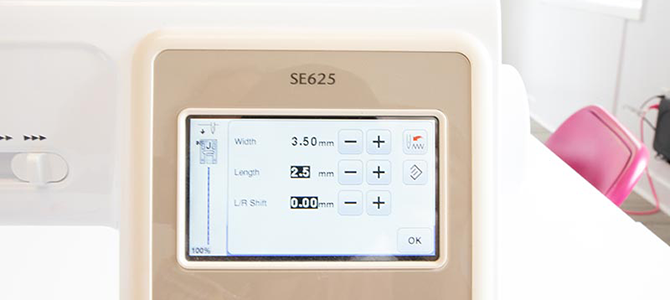
Set up your machine for a centre needle straight stitch with a stitch length of 2.5 mm.
Step 5a
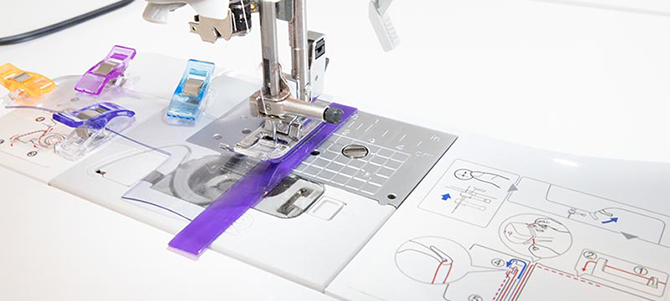
Optional: Adhere washi tape to a ¼" seam allowance. This helps achieve a straight seam and allows for an easy visual when sewing vinyl.
Step 6
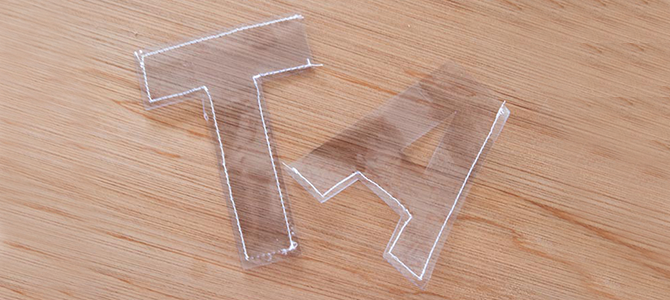
Stitch around a few of the edges of the letters. Use your best judgment here. You’ll need to leave spaces open to add the confetti to the inside.
Step 7
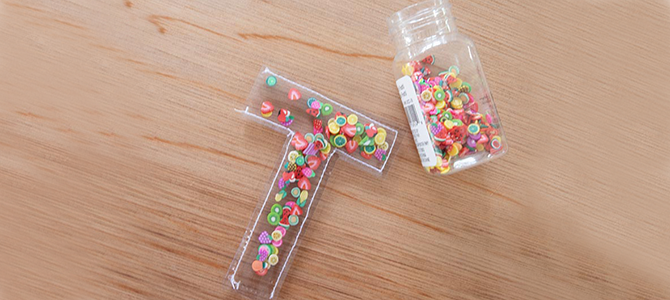
Add the confetti and stitch the opening closed.
Step 8
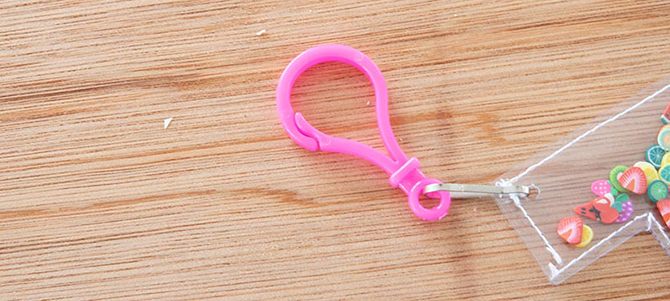
Add the keychain attachment.
Step 9
Add a tassel for a bit more texture and fun if you want, and now this project is done!










 Your product has been added to your cart