Check Out Our Weekly Deals.

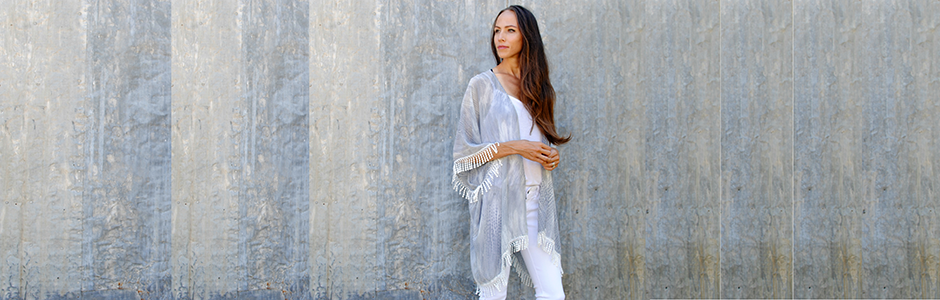
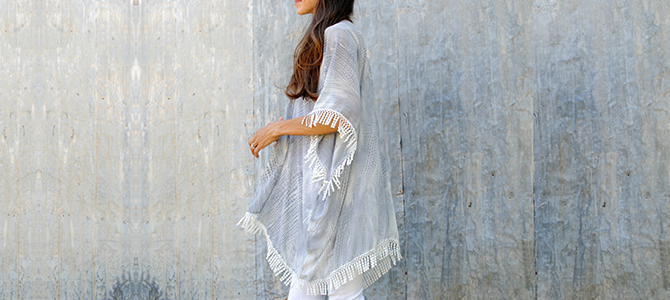
Follow these easy steps to sew a lightweight kimono that’s perfect as a poolside cover-up or an effortlessly stylish layer.
Browse project ideas by what you love to make. Choose a category to see the latest videos and projects, with new inspiration.
A versatile piece for all occasions, kimonos are wardrobe essentials that are simple to make with your choice of drapey fabric and a few lengths of trim. See the full tutorial below to sew your own.
What You'll Need:
Brother Sewing Machine
38" W x 60" L piece of chiffon or fabric that has drape
120" – 144" of trim (optional)
Thread
Sheers
Measuring tools
Iron away marking pen
Iron
Love this project? Get more tutorials ideas, member-only deals, and free shipping on every order.
Fold your piece of fabric in half.
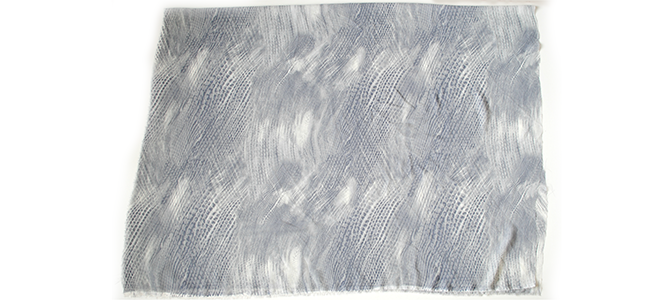
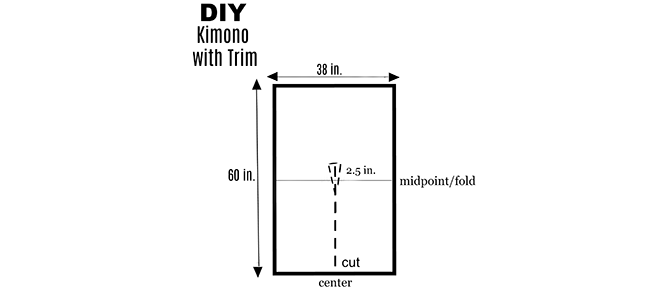
Find the midpoint of your fabric and use a marking pen and ruler to draw a straight line to the fold.
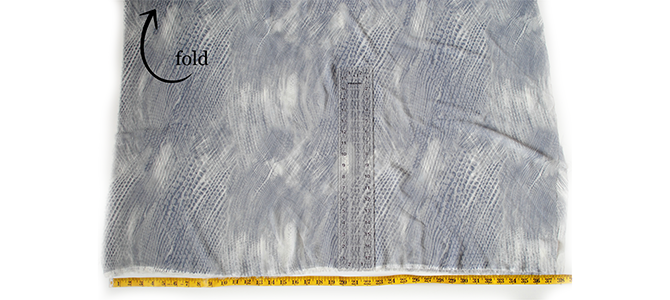
Cut the line all the way up to the fold, making sure to only cut the front portion.
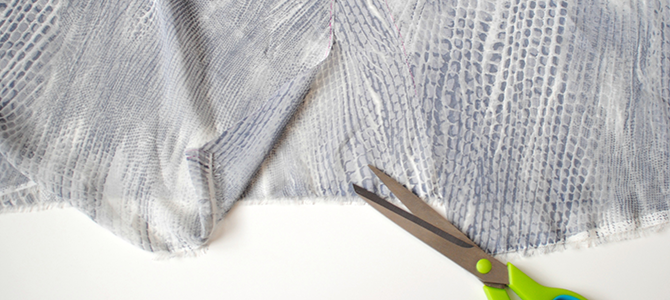
Cut a little keyhole 2.5" up from the fold line. Refer to the pattern template if you need a visual.
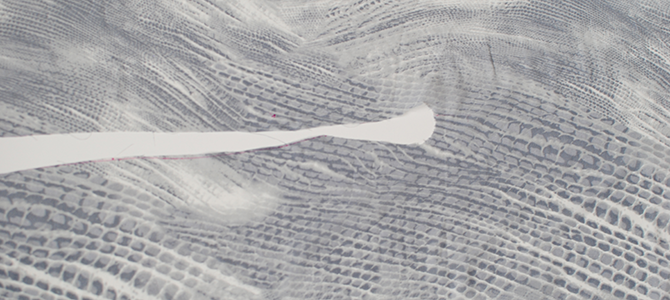
Finish the centre hem you just cut. We folded the hem over 1/4", pressed, and then another 1/4". Top stitch the hem into place.
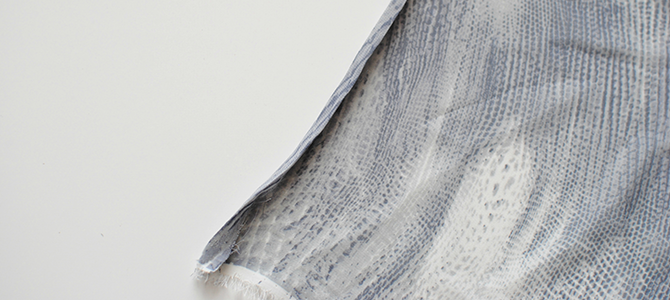
It should look like this now.
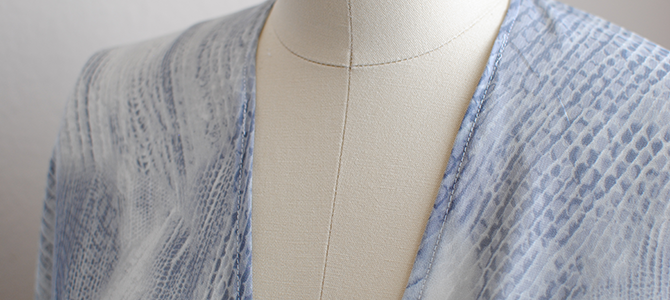
Measure the length you'd like your armhole to be. This one was 13" (front to back 26"). Fold your fabric right sides together, lining up your bottom edges and pin all the way up till you hit your measurement for your armhole. Then sew the part you pinned using a 5/8" seam allowance. Repeat for the other side.
Tip: If you don't want the chiffon to fray, use your serger or a French seam for the interior.
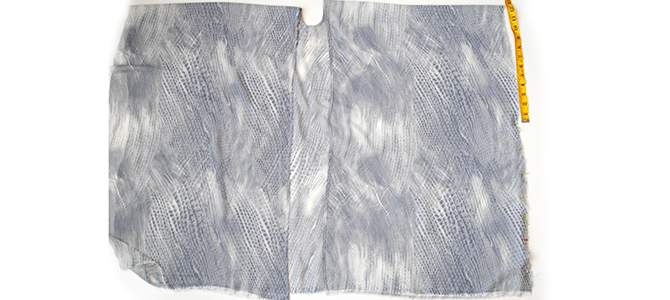
Finish your armhole edges. We folded the edges over 3/8", pressed, and then another 3/8" and topstitched into place.
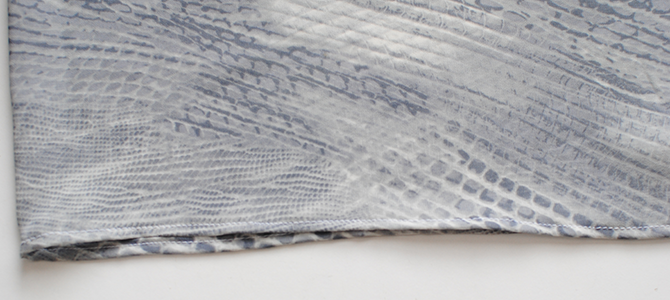
Add your trim to the bottom edge. The bottom of our kimono was the selvage edge so we didn't need to finish it. If yours isn’t already finished, do so before pinning the trim into place, then topstitch along the trim edging.
Repeat for the armhole openings.
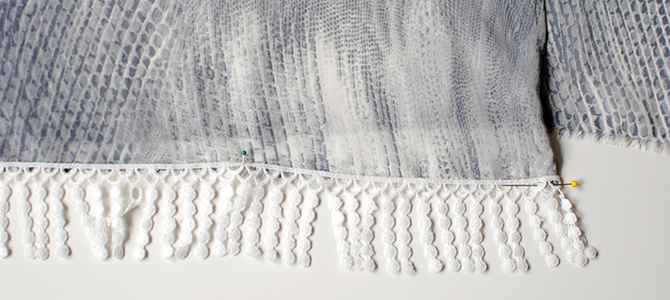
See how easy and fun it is to sew a kimono! Now you can have one for all occasions. Try this with knits too for a casual look.





Welcome to Brother Canada!
You're shopping from a location where delivery is currently unavailable (Nunavut, Northwest Territories, Yukon).
If you a shipping address in one of the provinces below, please select it to continue with your online purchase.
Otherwise, you can continue browsing to find a retailer, get info about Brother products, contact Customer Care and explore creative projects.
Bienvenue à Brother Canada!
Vous magasinez à partir d'un endroit à l'extérieur de notre territoire de livraison (Nunavut, Territoires du Nord-Ouest, Yukon).
Si votre adresse de livraison se trouve dans l'une des provinces suivantes, veuillez la sélectionner pour poursuivre vos achats en ligne.
Sinon, vous pouvez ignorer cette étape pour trouver un détaillant, vous renseigner sur les produits Brother, communiquer avec le Service à la clientèle et découvrir des projets de création.
 6-month extended warranty.


 6-month extended warranty.
 Your product has been added to your cart



 Your product has been added to your cart
Your product has been added to your cart
Thank you for registering your Brother product